|
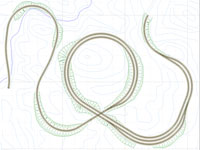
Image 1: Layout, visible part, with contour lines
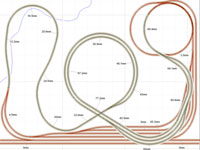
Image 2: All tracklevels with trackheights. Red tracks is the hidden station and tracks for Zmod connection
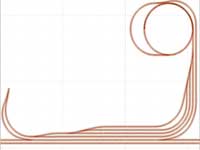
Image 3: Lower level of the layout, with the hidden station.
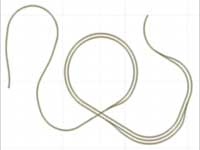
Image 4: Visible tracks
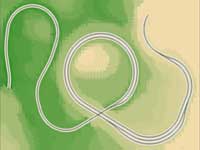
Image 5: Visible tracks with terrain
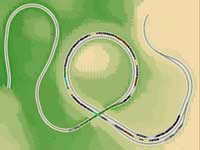
Image 6: Visible tracks with terrain and trains
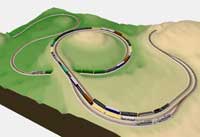
Image 7: Layout with trains
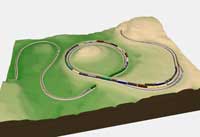
Image 8: Layout with trains
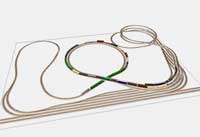
Image 9: Same as above without terrain
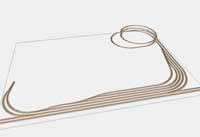
Image 10: Same as above, only hidden tracks
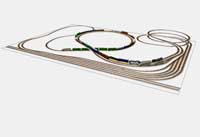
Image 11: Layout without terrain
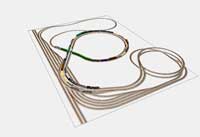
Image 12: Layout without terrain
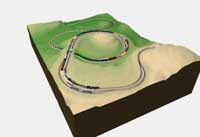
Image 13: Same as above with terrain
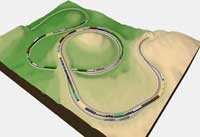
Image 14: Layout with crossing trains. Train is waiting downhill on the siding, when the uphil train is entering the loop.
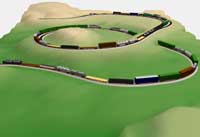
Image 15: Train action on Tehachapi Loop
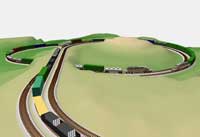
Image 16: Train action on Tehachapi Loop
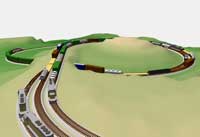
Image 17: Train action on Tehachapi Loop
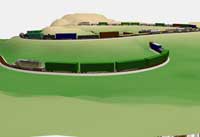
Image 19: Train action on Tehachapi Loop
|